 Azure Naming Tool
Instructions
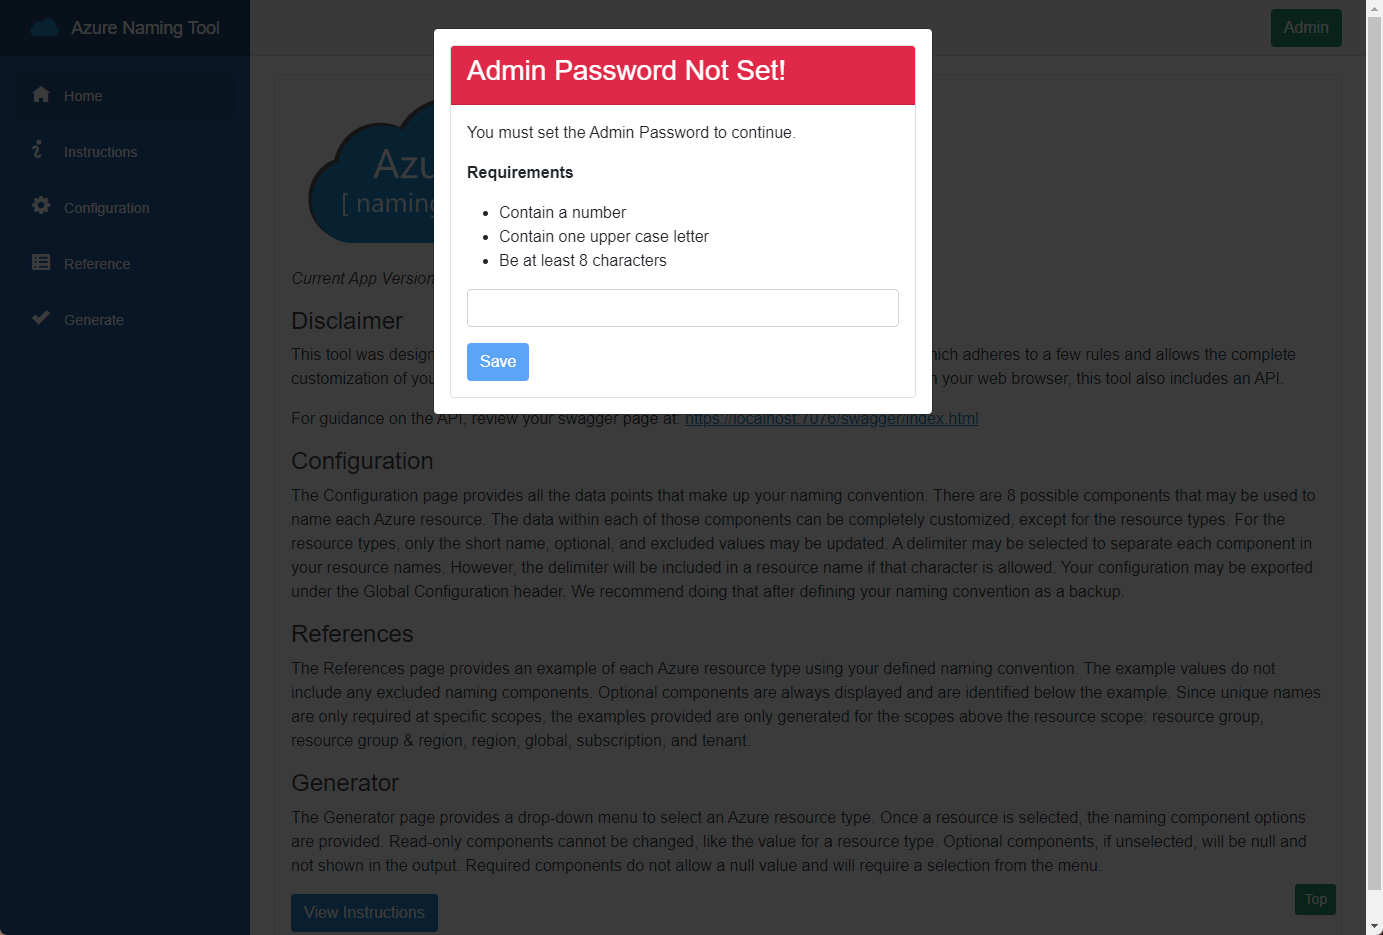
Step 1 - Setting the Admin password
When the site is first installed, the application will prompt for the Admin password to be set. This password allows access to the configuration for the tool.
Step 2 - View/Update the Admin configuration
Click the Admin button in the top navigation to view the current configuration.
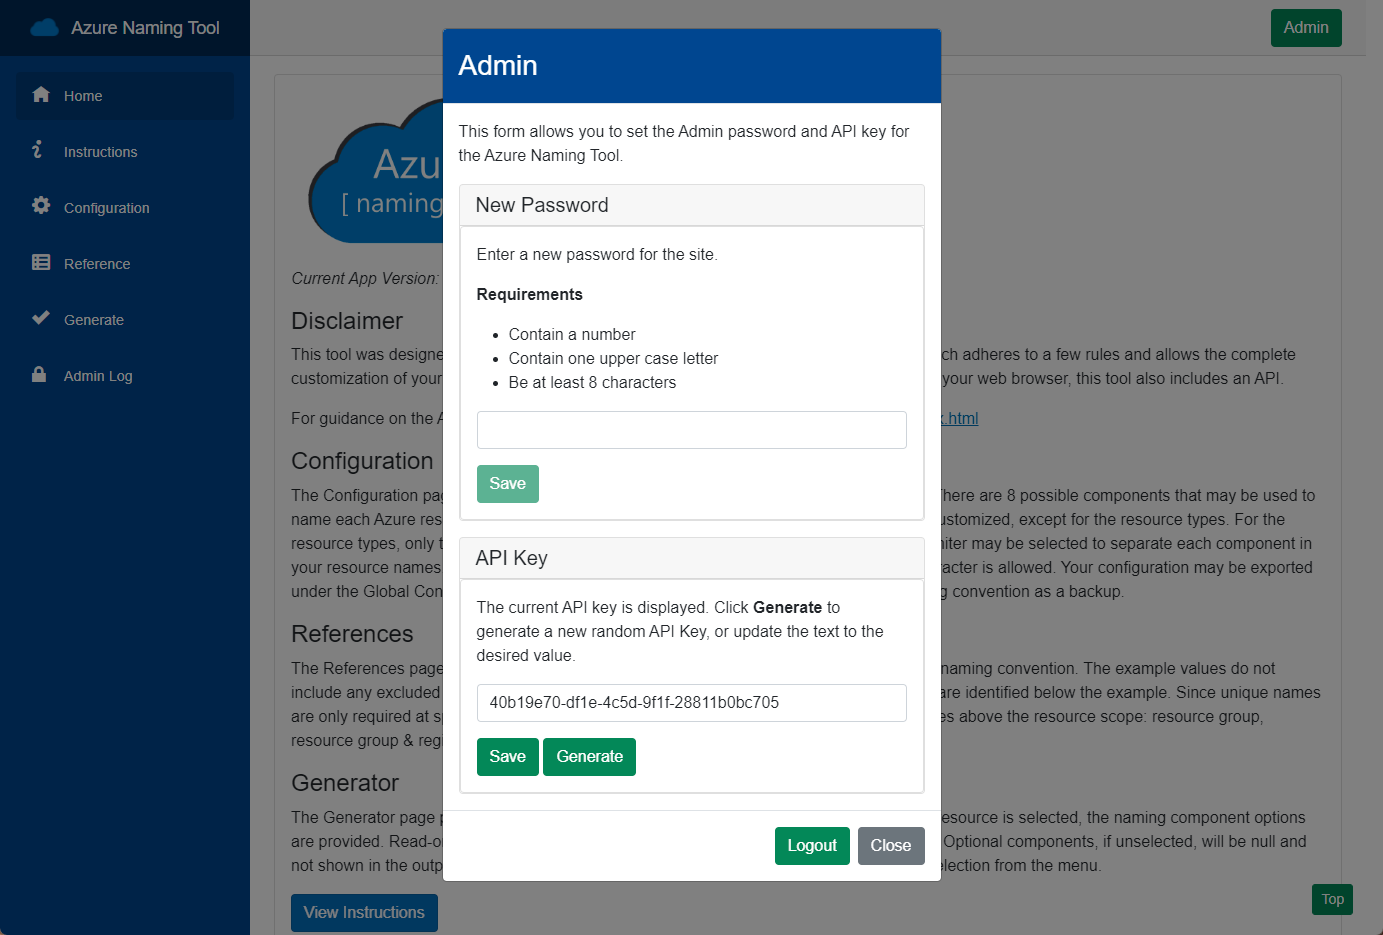
New Password
This section allows you to update the Admin password for the tool.
API Key
The Azure Naming Tool provides a RESTful API. Each API function requires an API Key to be provided. This section provides the ability to view/update the API Key for the tool.
Step 3 - Configure the tool
Click the Admin link in the top navigation to login. Once logged in, navigate to the Configuration page to set the configuration for the tool. The Configuration page is separated into multiple sections. Each section allows the management of the component, exporting of the configuration, and restore capability to the default state.
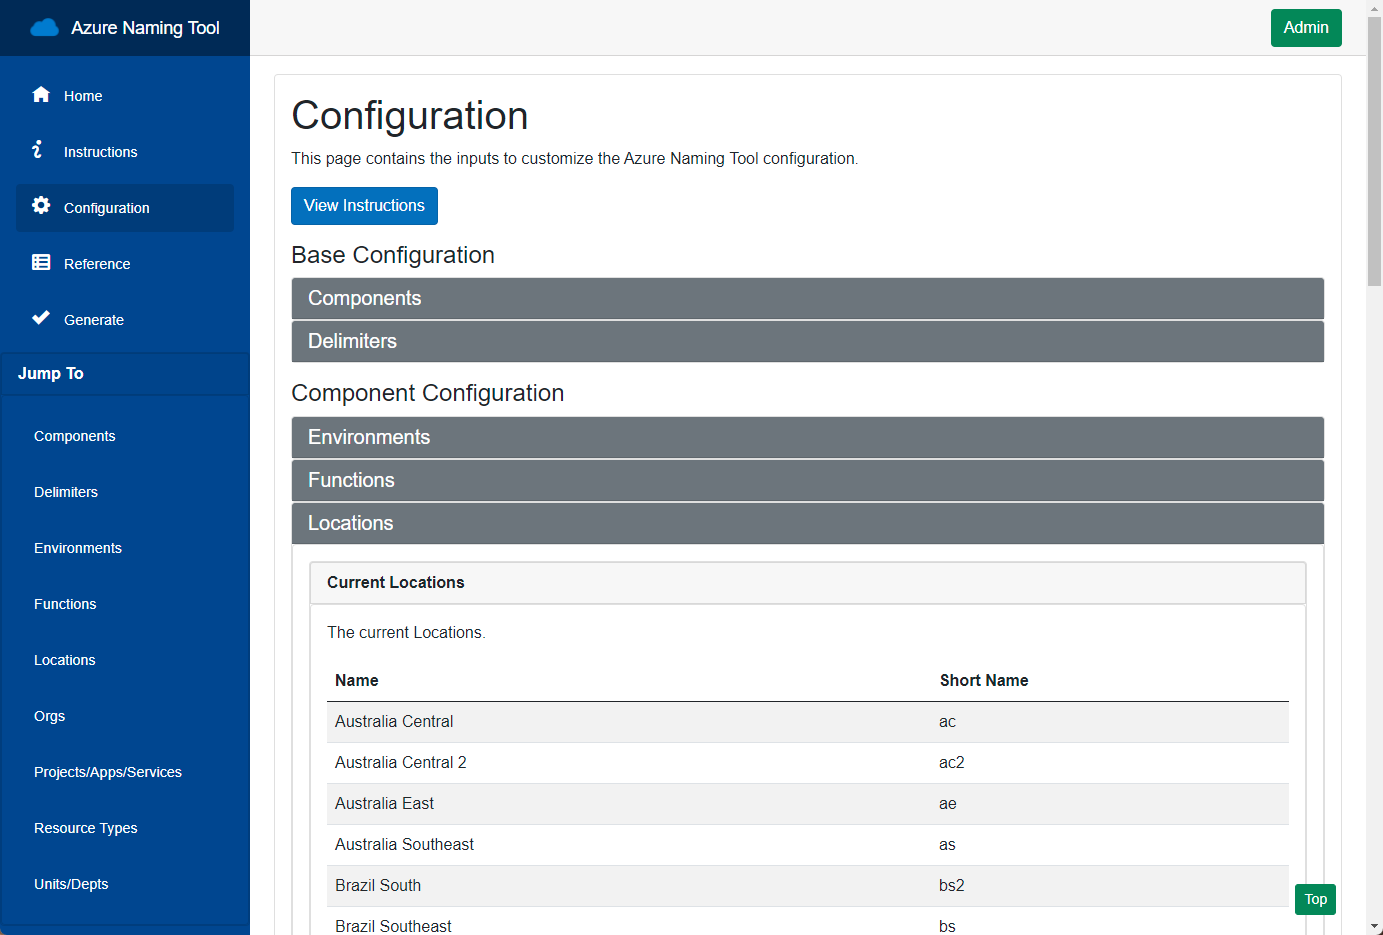
Base Configuration
This section provides the ability to configure the base components required for resource name generation.
Components
This section allows the configuration of which components will be used for resource name generation. Components can be enabled/disabled, as well as sorted to the desired configuration.
Delimiters
The Azure Naming Tool allows for a specified delimiter to be used between components when a name is generated. This section allows the selection of the delimiter. In the event a resource type does not allow the selected delimiter, it will be removed.
Component Configuration
This section provides the ability to configure the individual components used in name generation. Each component provides the ability to add/edit/delete items, as well as set the desired sort order. Note: The Resource Type and Location components allow limited configuration for consistency.
Export
Component configuration is stored as a JSON file within the application. Each component configuration file can be exported and stored for backup purposes. It is recommended to export all configuration files when updating the Azure Naming Tool codebase.
Reset
When the tool is installed, a default configuration is used for each component. The Reset feature allows the default configuration to be restored for the component.
Import
The tool provides the ability to import a new configuration for each component, if needed.
General Configuration
This section provides functionality to modify the master configuration for the tool. Administrators can export the current configuration (combining all component configuration files into a JSON file), or import a new configuration. This feature is used for backup/restore of the installation configuration.
Global Configuration
This section allows the user to import/export a complete configuration for the Azure Naming Tool Application. All component configuration files are combined into a single JSON file. This is especially helpful when backing up/restoring the application.
Step 4 - Generate names
The Generate page allows users to generate names with the selected options.
After selecting the desired options, click Generate to generate the resource type name. The application will attempt to validate the generated name with the naming guidelines.
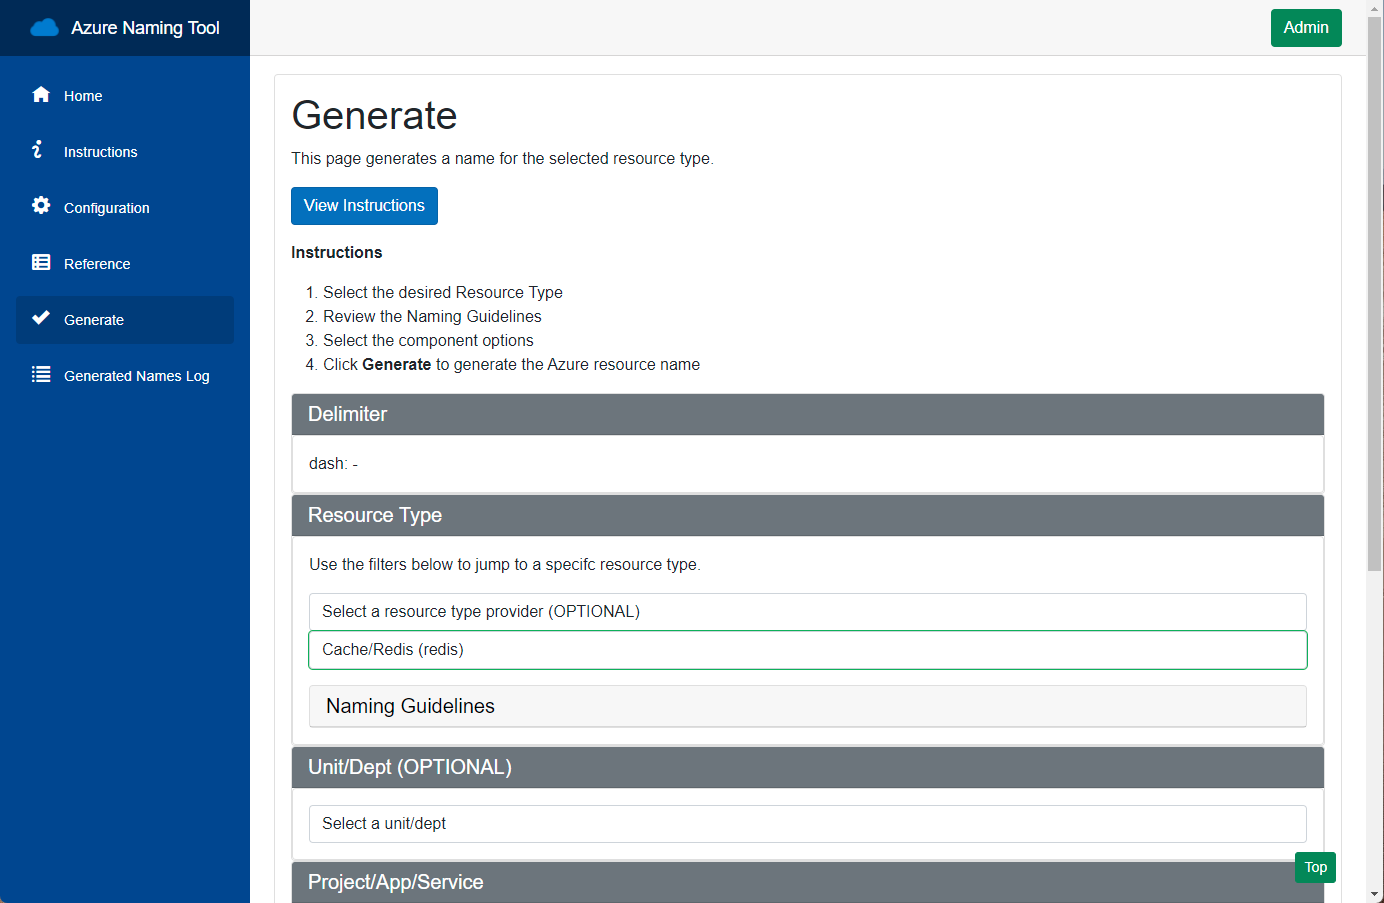
Delimiter
This section displays the delimiter configured for the application.
Resource Type
This section allows the user to selected the desired resource type name to generate. Use the Category selector to filter the list of resource types.
Components
Select the desired values for the required components. Optional components may be omitted.